Justin and Nathan Hollis run Hollis Farm, LLC, a worm business that sells Red Wigglers and Nightcrawlers.
Agriculture, Education April 01, 2026
How to Start a Worm Farm
Let the little guys help your soil.
Story and Photos by Bill Spiegel
Justin Hollis wanted to revive the lifeless clay soil in his family's garden with a natural amendment. In 2021, the Hartsburg, Missouri, husband and father found an old deep freeze, filled it with soil, compost, and 1,000 mail-order worms. And over the winter, he feared they had died.
But in the spring, his lifeless deep freeze exploded with thousands of worms, prompting him and his brother Nathan to start a business.
Four years later, Hollis Farm sells worms, worm castings (worm manure) and worm "tea," or liquid fertilizer made from worm castings steeped in water.
Caring for worms. Many of the Hollises' customers are first-time worm buyers. The brothers caution that vermiculture, or worm farming, isn't difficult, but requires preparation. First, the container: a 15-gallon plastic tote from a big box store or clean 5-gallon plastic bucket each can make a home for 1,000 worms (which is roughly a pound of worms). Make sure you cut holes in the lid of either container for air to circulate in the dwelling.
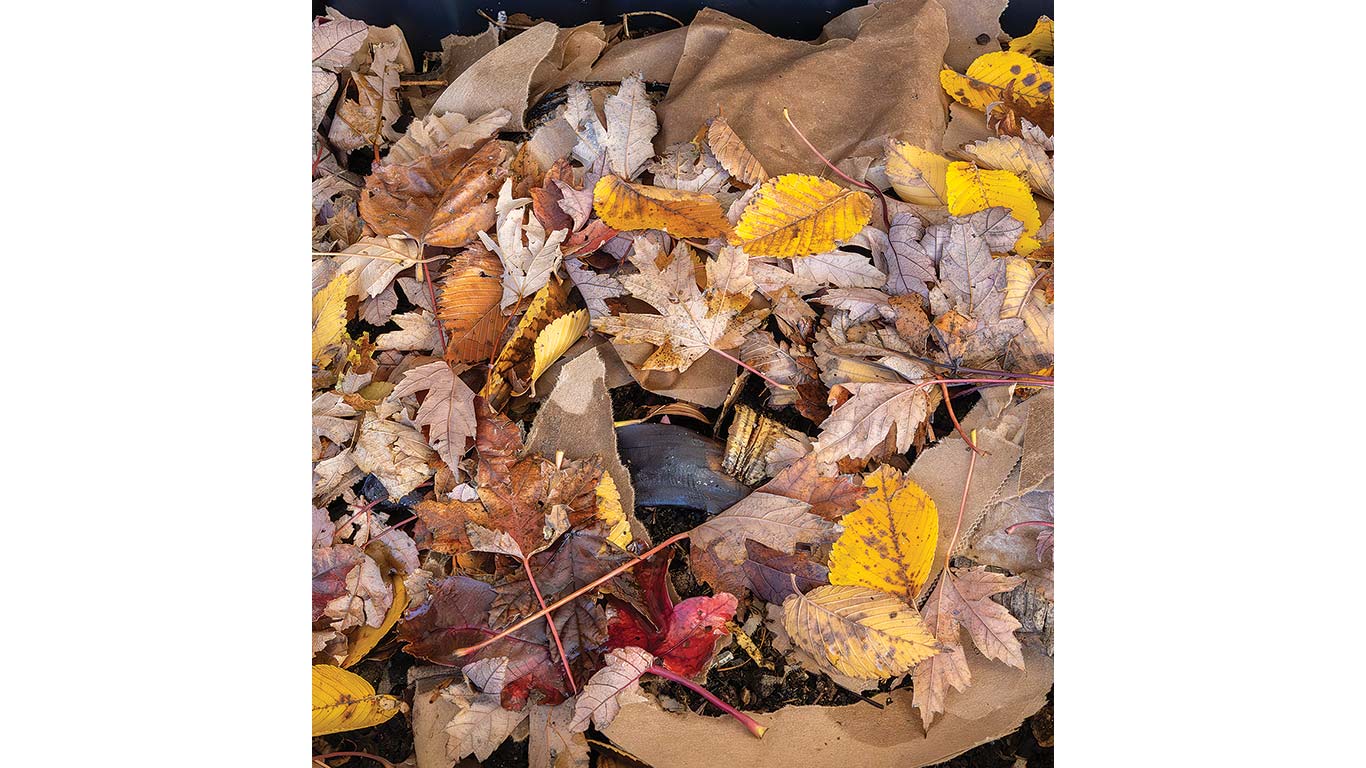
Justin recommends putting a layer of cardboard on the bottom of the container and filling it about two-thirds full of finished compost.
"As long as it is cooked, compost is the perfect stuff to put into a worm bin," he says.
Do not use "hot" compost. If you don't have any compost ready, buy some coconut coir to use as the base, and fill the rest with torn cardboard, newspaper, and soil, and mix. Sprinkle the mix with water to get it ready for worms.
"The rule of thumb is if you grab a handful of the stuff in your worm bin, squeeze it, and water is pouring down your arm, then it's too wet," he explains. "We also spray some water on the top of the bin every few days."
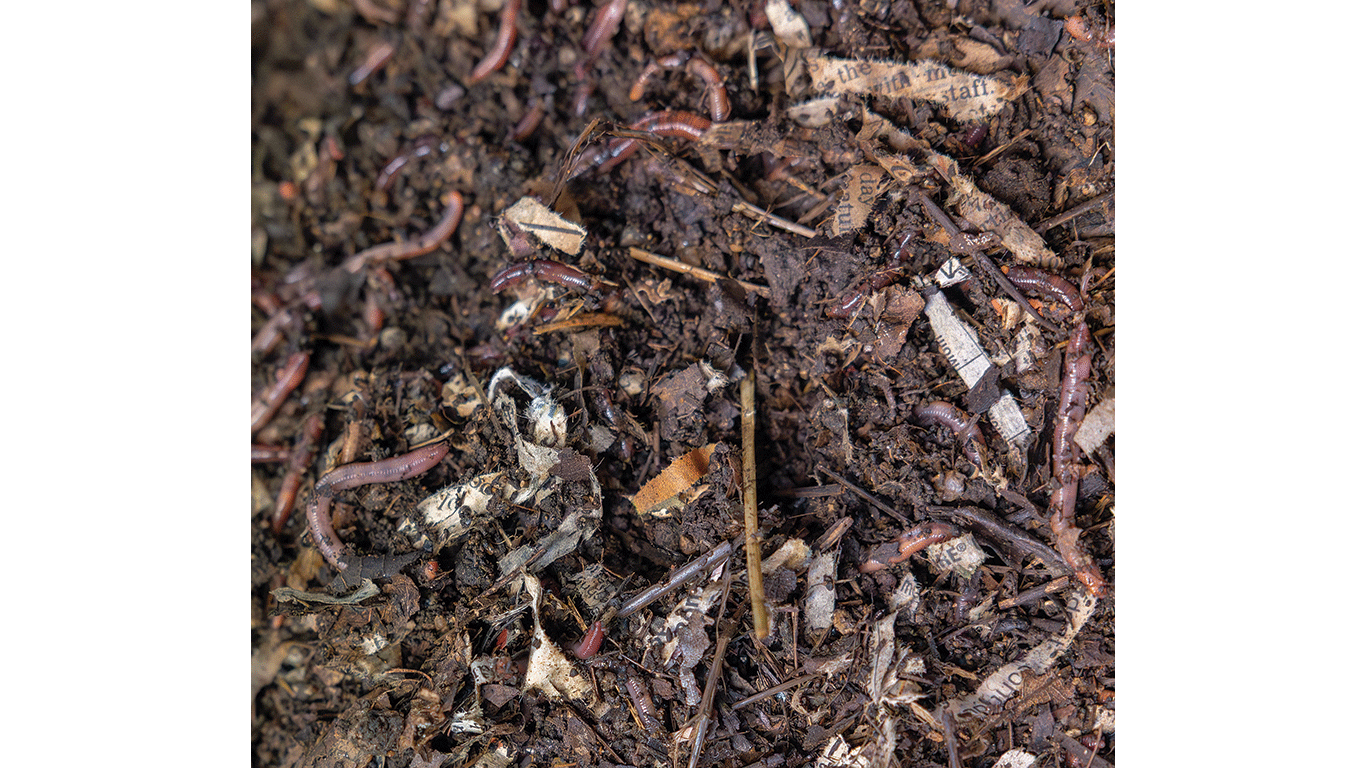
Red Wiggler worms are an ideal species for high quality castings. They thrive in an environment between 60 and 80 degrees. When they get too hot, or the bedding is too wet, they'll escape. Stir the bedding every three weeks or so and bury worm food into compost to keep fruit flies at bay.
"Sometimes you can get really bad fruit flies, and that's why a lot of people quit raising worms," Nathan says.


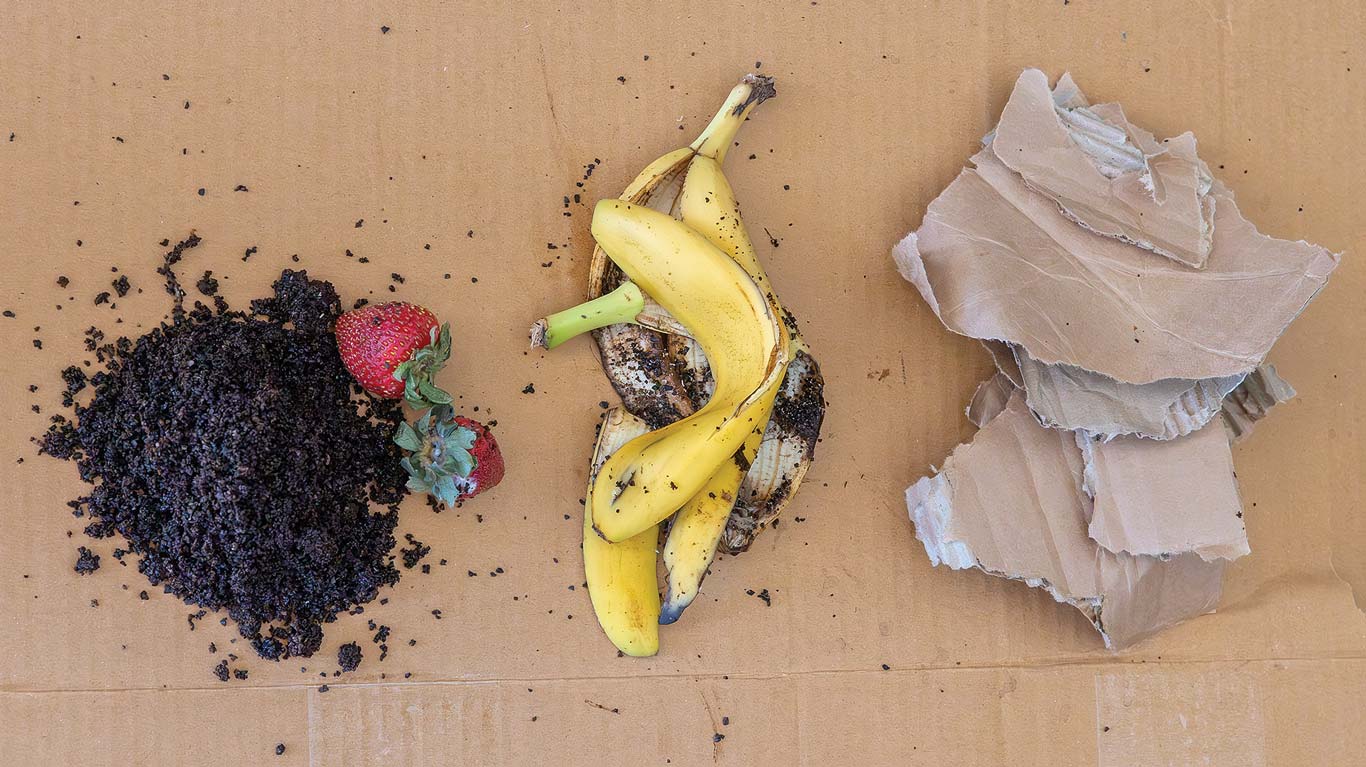
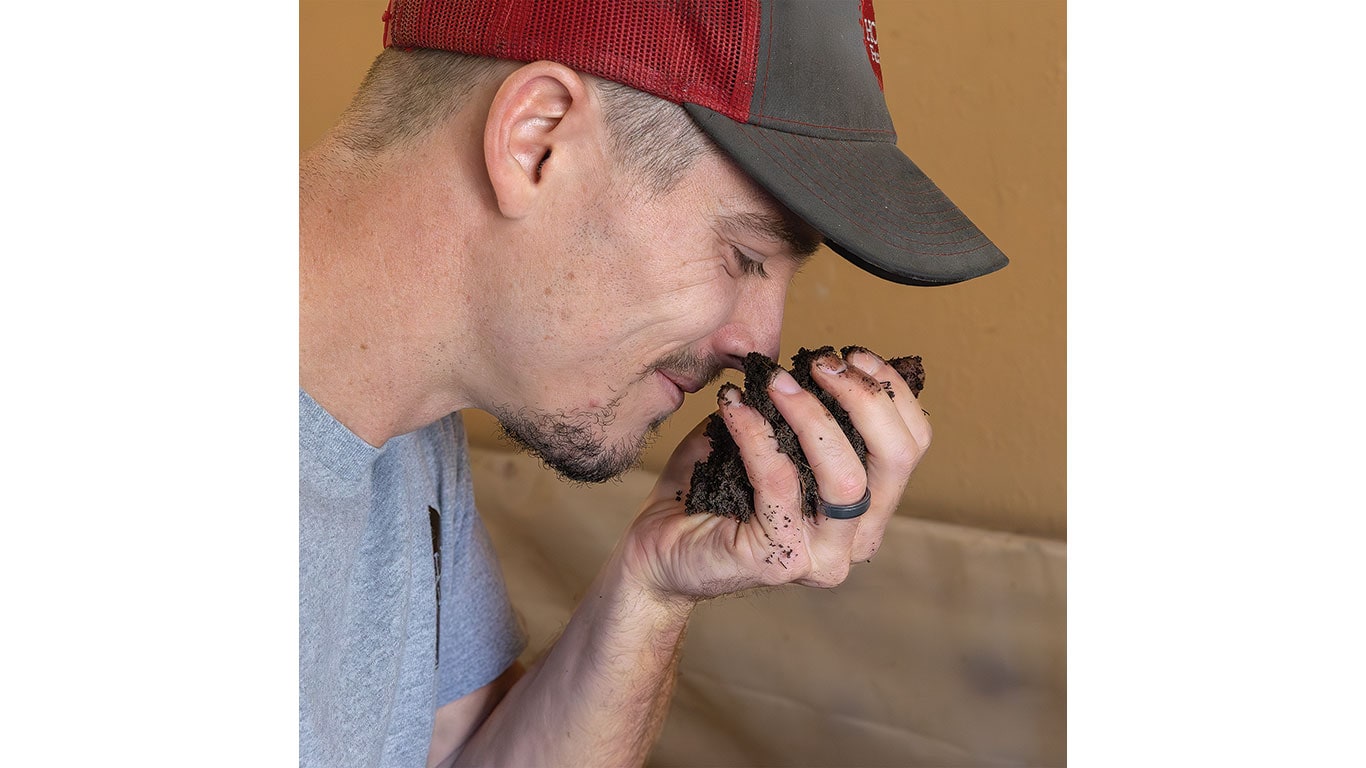
Above. Justin, left and Nathan Hollis built their worm operation to help customers improve soil. This 15-gallon container is two-thirds filled with finished compost, leaves, and 1,000 Red Wigglers. Nightcrawlers are ideal for fishing, not worm castings. Worm food can be cardboard, coffee grounds, and fruit scraps. Done correctly, a worm farm will have an earthy smell, much like rich soil, says Justin Hollis. Worm castings contain nitrogen, phosphorus, and potassium and are rich in micronutrients. They also are water soluble.
Feeding frenzy. Red Wigglers eat their body weight in food per day. So, you'll want to feed them every few days.
"They need to eat the food in a few days, too. If they can't get through it, the food starts rotting and the worms will avoid it," Justin says.
Worms eat fruit and vegetable scraps, plus eggshells and coffee grounds, which are good for their gut health. Avoid dairy, meat, spicy foods, and citrus.
The payoff. After three to four months, depending on the container size and number of worms, you'll be ready to harvest worm castings, or worm poop. The "black gold" is what you're after.
With an NPK ratio of between 1-0-0 and 5-5-3, plus the micronutrients iron, sulfur, magnesium, zinc, copper, and calcium, "…worm castings are natural fertilizer," Justin says. "Over time, worm castings will make lifeless soil healthy again."
Worm castings are formed as the earthworm digests organic material and then encases it in a coating before defecating. This coating makes the castings into a "time-release" soil amendment as the nutrients it contains become available over time.
To harvest them, sift worm bedding through a screen and separate worms, sticks and undigested scraps from the rest of the material; the screened stuff is your worm castings.
Or, you can encourage worm relocation by putting food in a tray above the container that you want to harvest; holes in the top will entice worms to move upward, leaving the bottom tray fairly worm free. You can screen that bottom tray and keep the nutrient-rich castings for your soil.
The Hollis brothers have a YouTube video that explains this method: search Hollis Farm LLC on YouTube and click on "Cheap and Easy Three Tier Worm Bin System."
Now what? What to do with all this good stuff? An ideal ratio is about 85% soil, 15% worm castings when planting new plants. For existing plants, put a one- or two-inch layer around the base and work it into the soil.
In both cases—new or existing plants—water them afterward to speed the release of the nutrients for the plants.
You can also make worm tea: steep a bag of worm castings in water (preferably distilled or rainwater) and aerate the water with an inexpensive aquarium pump for 12 to 24 hours and apply to plants.
"We've had customers show us pictures of their plants producing triple what they produced before they began using worm castings," Nathan says. "That's not a guarantee, but castings work as well as chemical fertilizer without some of the harmful aspects," he adds. "You're not disrupting the soil; you're not harming microorganisms. Your soil is getting healthy again." ‡
More articles related to:
Read More of The Furrow
SPECIALTY/NICHE
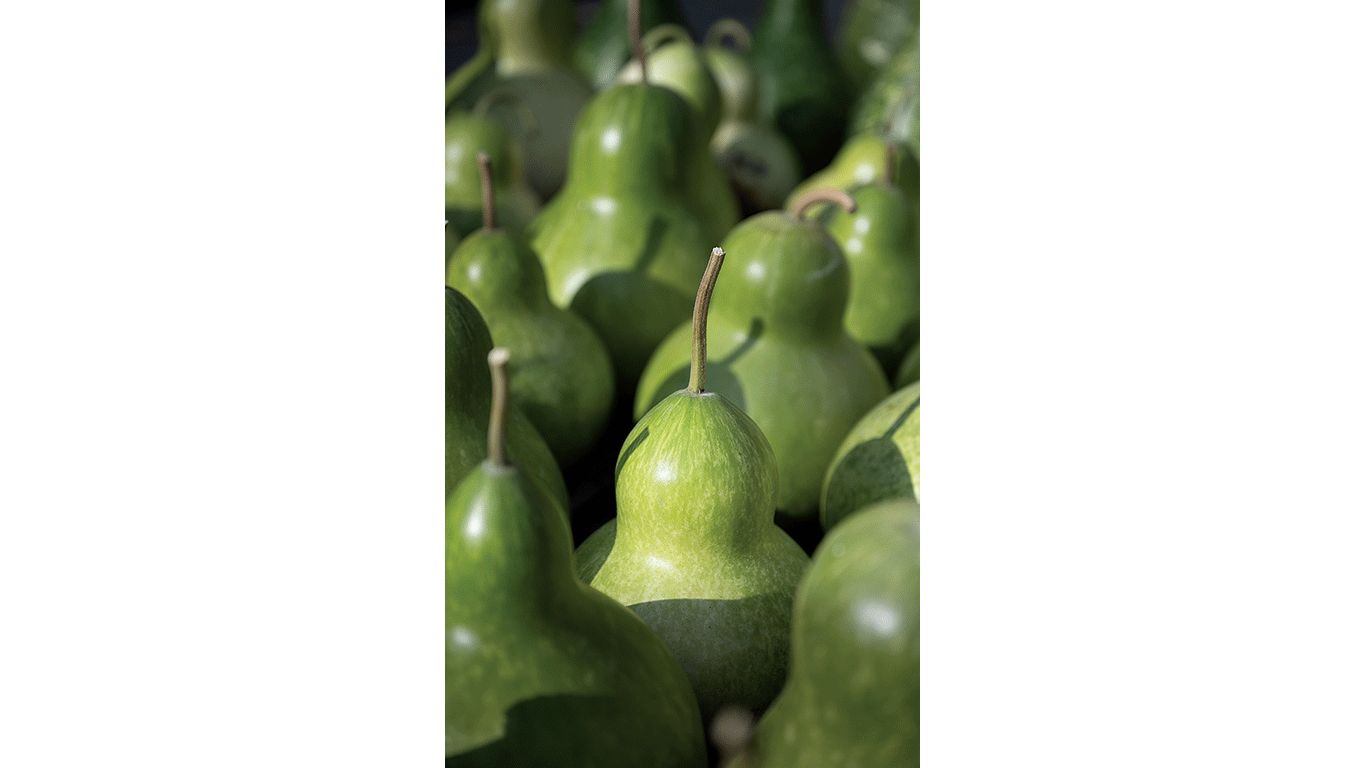
Good Gourd Almighty
When you find your calling, go all in.
SPECIALTY/NICHE
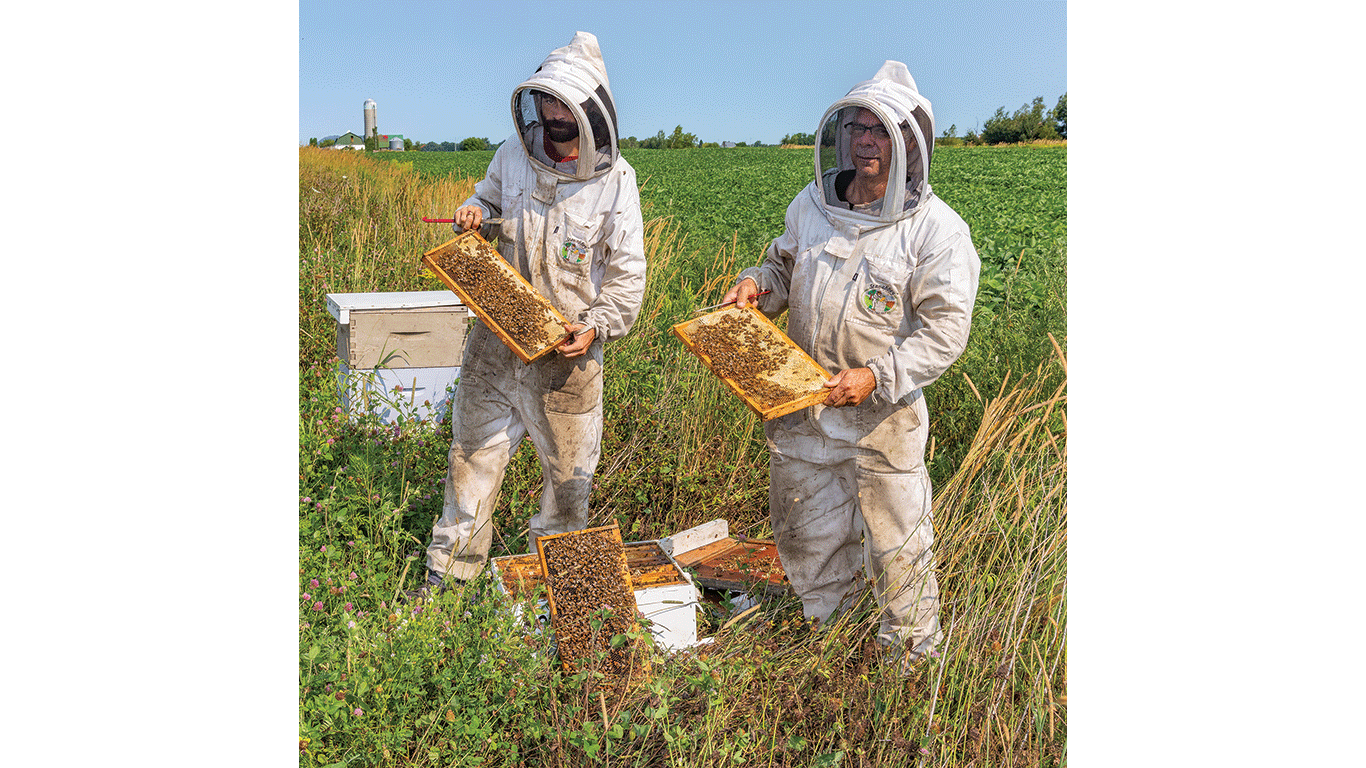
A Taste of Honey
Childhood dream turns into something more.